
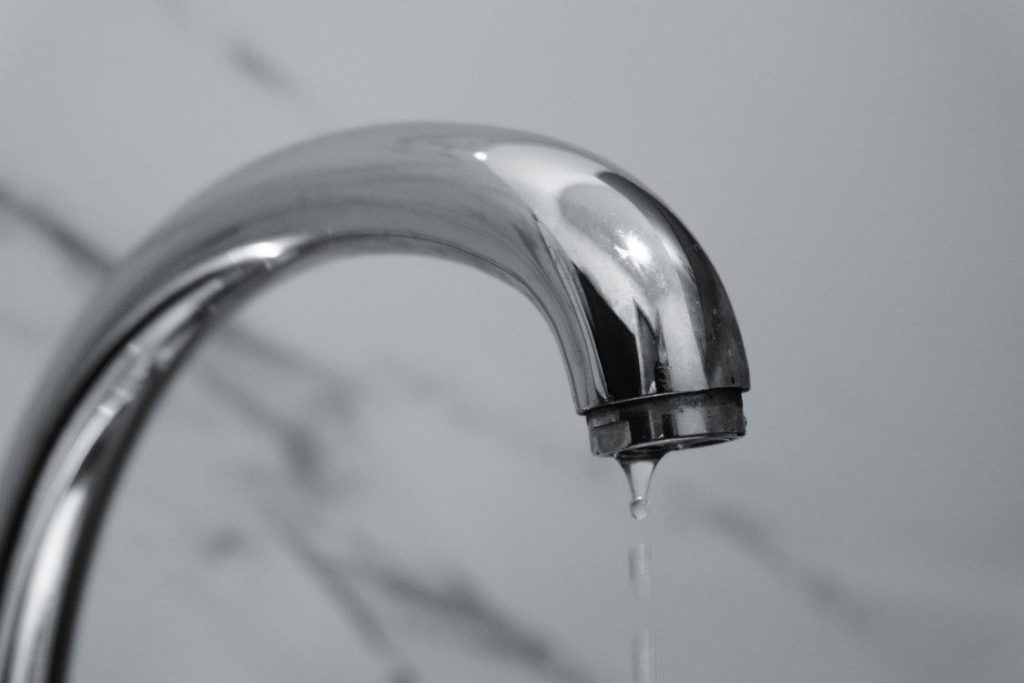
It starts as a sound you only notice at night. Drip. Pause. Drip. By the end of the week it is keeping you awake, and by the end of the month it has quietly sent a surprising amount of water down the plughole for no reason at all. The good news is that learning how to fix a dripping tap is one of the most beginner friendly jobs in the house. There is no soldering, no pipe cutting and usually only one worn part to blame. This guide walks through how to fix a dripping tap in the right order: find where the water is escaping, work out which kind of tap you own, turn the supply off safely, swap the part that has failed, and test the repair before you put the tools away. Call it a tap or call it a faucet, the method to fix a leaky faucet is exactly the same, because the insides do not care what name you use.
Key Points
- A dripping tap is usually one worn part, a washer, cartridge or O-ring, not a plumbing emergency.
- Find where the water escapes first, spout means washer or cartridge, handle or base means O-rings.
- Work out your tap type with the handle test, quarter turn means ceramic cartridge, full turns mean washer.
- Always turn the water off at the isolation valve or stopcock and drain the pipe before opening the tap.
- Match the old part exactly at the shop, and check the brass seat while the tap is apart.
In This Guide
- Why a Small Drip Costs More Than It Looks
- First, Find Where the Water Is Escaping
- Work Out Which Kind of Tap You Own
- Gather Your Tools Before You Touch Anything
- Step One: Turn the Water Off, Properly
- Fixing a Washer Tap, Step by Step
- Fixing a Cartridge Tap, Step by Step
- Put It Back Together and Test It Slowly
- When to Stop and Call a Plumber
- Frequently Asked Questions
- The Short Version
Why a Small Drip Costs More Than It Looks
A slow drip feels too small to matter, which is exactly why people live with one for months. But a tap that drips steadily, day and night, wastes a large amount of water over a year, and if your home is on a water meter you are paying for every drop of it. If it is the hot tap doing the dripping, you are also paying to heat water that nobody uses. There is a second, quieter cost. A washer that no longer seals lets water cut slowly at the brass seat it closes against, and a drip left long enough can turn a cheap washer swap into a worn seat that no new washer will ever seal properly. One habit makes it worse, not better: cranking the handle tighter. That does not stop a dripping tap, it just grinds the failing washer down faster and can damage the seat sooner. Fixing it early is not just tidier. It keeps the job small, which is the whole point of learning how to fix a dripping tap yourself. It is also why how to fix a dripping tap belongs on the short list of household skills worth learning once: taps drip eventually in every home, and the skill gets reused for years.
First, Find Where the Water Is Escaping
Before any tools come out, dry the tap with a cloth and watch it for a minute. Ask the simple question first: why is my tap dripping, and where exactly is the water escaping? Where the water appears tells you which repair you are actually doing, and guessing wrong means taking the tap apart for nothing.
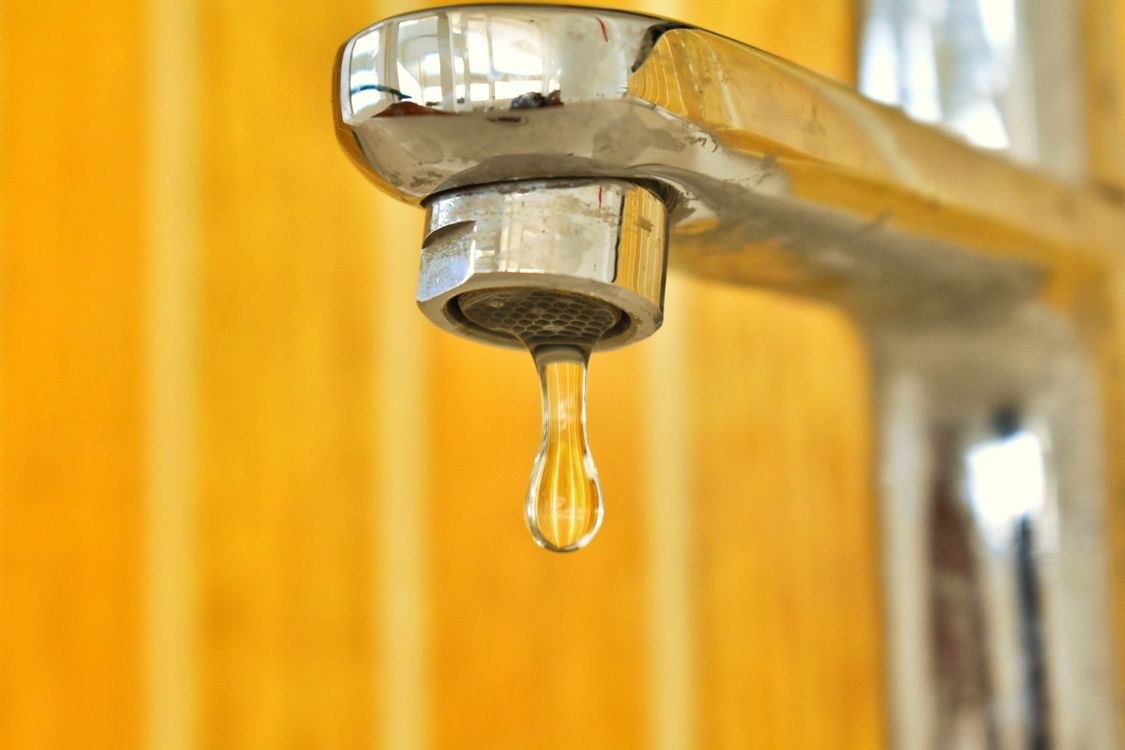
If water drips from the tip of the spout while the tap is turned off, the seal inside is failing. That is the classic tap leaking from spout pattern, the washer in an older tap or the cartridge in a newer one, and it is the repair this guide mostly covers. If the leak shows up around the handle or the base of the tap, usually while the water is running, suspect an O-ring instead. A tap dripping from handle or base is sealed by O-rings, the small rubber rings on the moving parts, and they are replaced during the same strip-down. If water is appearing under the sink, on the supply hoses or the connections below, that is a different problem entirely. Put the tools down for that one and look at the section on calling a plumber, because leaks under pressure in the pipework are not a beginner job. That two minute check shapes everything that follows in how to fix a dripping tap, so do not rush past it.
Work Out Which Kind of Tap You Own
There are three common designs, and how to fix a dripping tap is different for each, so settle this before you buy anything.
Traditional compression taps are the ones where the handle turns several full turns from off to fully on, and you can feel it tighten as it closes. Inside, a rubber washer is pressed down onto a brass seat to stop the flow. That washer hardens, cracks and wears a groove over time, and it is the classic cause of a tap leaking from the spout. Quarter-turn taps, where the handle moves only a quarter or half a turn, use a ceramic disc cartridge instead. Two polished ceramic discs slide over each other to open and close the water, and when the cartridge wears or grit scores the discs, the whole cartridge is replaced. There is no washer inside to change. Mixer taps, with one spout fed by hot and cold, come in both flavours: two handles, each with its own washer or cartridge, or a single lever working one larger cartridge.
If you are not sure which you have, use the simple test the Wickes guide gives: a handle that needs only a quarter or half turn points to a ceramic cartridge, and a handle that turns a full turn or more points to a washer. Knowing this one fact is half of how to fix a dripping tap, because it decides the part you buy.
Gather Your Tools Before You Touch Anything
Nothing on this list is exotic, which is another reason how to fix a dripping tap suits a first DIY job. You will want an adjustable spanner, a flathead and a crosshead screwdriver, and a small set of Allen keys, because some lever handles hide a grub screw underneath. For parts, you need a replacement washer or cartridge to match your tap, a few spare O-rings, and a little silicone grease, sometimes sold as tap grease, for the O-rings. Add an old cloth or tea towel to protect the chrome finish from the spanner, a plug or a folded cloth to cover the plughole so a dropped screw cannot vanish down it, and a small tub to keep the screws and caps in as they come off. Lay everything out before you start, because how to fix a dripping tap only goes smoothly when you are not hunting for an Allen key with the tap already in pieces.
One honest warning about parts: washers come in several sizes and cartridges are often specific to a brand, so the reliable method is to take the old part out first and carry it to a hardware store or plumbers’ merchant to match it exactly. A mixed pack of washers covers most traditional taps if you want to buy before you start, but for a cartridge, matching the old one in your hand beats guessing from a photograph every time. With the tools and parts laid out in front of you, how to fix a dripping tap stops being a mystery job and becomes a simple sequence.
Step One: Turn the Water Off, Properly
This is the step nobody is allowed to skip. Take any part of a tap apart with the water still on and the moment the valve comes out, mains pressure will do the rest, loudly and all over the floor. Every guide to dripping faucet repair starts here for a reason: isolating the water is the foundation of how to fix a dripping tap safely.
Look under the sink first. Many homes have a small isolation valve on each pipe running up to the tap, with a slotted head you turn a quarter turn with a flathead screwdriver so the slot sits across the pipe rather than along it. That shuts off just that tap and leaves the rest of the house alone. If there are no isolation valves, use the main stopcock for the house, usually under the kitchen sink or where the supply enters the building. For hot water fed from a tank rather than a combi boiler, you may also need to close the valve on the cold feed pipe going into the hot water cylinder. Then open the tap fully and wait until the flow stops completely. That drains the water still sitting in the pipe and proves the supply really is off before you start. Put the plug in the plughole, spread your cloth under the work area, and let any hot water in the system cool if the tap has just been used. Only when the flow has stopped completely are you ready for the hands-on part of how to fix a dripping tap. If you cannot find a way to isolate the water, or the stopcock will not budge, stop here. That situation is on the plumber list at the end, and it is not a failure.
Fixing a Washer Tap, Step by Step
If yours is the older style, this is the classic version of how to fix a dripping tap, and most people finish it well inside an hour. At its core, the job is to replace tap washer and O-ring seals that have gone hard, cracked or grooved with age.
Prise off the decorative cap on top of the handle, the part often marked hot or cold, and undo the screw underneath it. Lift the handle off. If it is stuck fast with limescale, a little penetrating oil and a few minutes of patience will free it; never lever hard against the sink or the tap body. Next, unscrew the cover or flange below the handle, by hand if you can, or with a spanner wrapped in your cloth so it does not chew the finish. Now you can see the headgear, the large nut assembly. Grip it with the spanner and unscrew it anticlockwise, holding the tap body steady with your other hand so the force does not twist the pipework underneath. Lift the whole spindle assembly out.
The washer sits at the very bottom of that assembly. It may push onto a small stem, or be held by a tiny nut or screw. Take it off and look at it: most failed washers are obviously cracked, flattened or grooved. Fit the new washer of exactly the same size. That single swap is the heart of how to fix a dripping tap in this older style. While the tap is apart, slide the old O-rings off the spindle and replace those too, with a smear of silicone grease on the new ones. Those O-rings are what stop a tap dripping from the handle area, and changing them now costs pennies and saves a second strip-down later.
Before you reassemble, shine a torch down into the tap body and look at the seat, the brass ring the washer presses against. If it looks smooth, you are fine. If it is pitted, scored or has a visible ridge, that is why the tap dripped, and a fresh washer will only seal it for a few weeks. Checking the seat is the step in how to fix a dripping tap that separates a lasting repair from a temporary patch. A hardware store reseating tool can grind a lightly damaged seat flat again; a badly worn seat means the tap itself is at the end of its life.
Fixing a Cartridge Tap, Step by Step
On a modern tap, learning how to fix a dripping tap means swapping a cartridge instead of a washer. A ceramic cartridge replacement sounds technical, but the cartridge lifts out of the tap body as one single unit. The principle is identical, seal replaced, drip gone, but the part is bigger and brand specific.
Remove the handle first. This is the fiddliest part of how to fix a dripping tap when the tap is a modern one. On a lever tap, look for a small grub screw on the underside or back of the lever, loosened with an Allen key; on a two-handle quarter-turn tap, there is usually a cap and screw like the traditional design. With the handle off, the cartridge sits in the body held by a large nut or its own threads. Unscrew it with the spanner, again holding the tap body steady, and lift it out. Note which way up it sits and which way it faces before it comes out, and if you are doing a pair, remember that hot and cold cartridges on two-handle taps may be made to turn in opposite directions, so they are not always interchangeable. Take the old cartridge with you to buy the replacement. Cartridges vary by brand and model in ways that are hard to judge by eye from a listing, and an exact match in your hand is the difference between one trip to the shop and three.
Fit the new cartridge the same way round as the old one, tighten it firmly but do not force it, and refit the handle. That single swap is nearly the whole of how to fix a dripping tap on a ceramic model, and you are now at the same testing stage as the washer repair.
Put It Back Together and Test It Slowly
Reassembly is the strip-down in reverse, which is why laying the parts out in order pays off. Tighten everything firmly, not brutally: overtightening a spindle is itself a way to shorten a new washer’s life. Then comes the part of how to fix a dripping tap that tells you whether any of it worked. Turn the water back on slowly at the isolation valve or stopcock. Open the repaired tap gently to let the trapped air splutter out, run it for a few seconds, and close it. Now watch the spout for a full minute. A proper fix leaves it bone dry. Check around the handle and the base while the tap runs, and run a dry hand over the pipes under the sink to feel for any wetness you might have disturbed.
If the spout still drips with a brand new washer fitted, the seat is the likely culprit, as covered above. If it drips after a cartridge change, check the cartridge is fully seated and the right way round before assuming the new part is faulty. And if the drip has simply moved, from spout to handle, that is an O-ring that was missed. Testing patiently like this is part of how to fix a dripping tap properly, because a slow weep found now is a five minute adjustment, while the same weep found next week is the whole job done twice.
When to Stop and Call a Plumber
Part of learning how to fix a dripping tap is learning where the job stops being yours. Not every attempt to fix a leaking tap should be finished by the person who started it. Call a plumber if you cannot isolate the water, if the stopcock is seized, or if a handle or headgear is corroded so solid that real force would be needed, because a spanner slipping or a fitting snapping can turn a drip into an open pipe. Call one if the water is coming from the supply pipes, flexible hoses or joints under the sink rather than from the tap itself. Call one if the tap body is cracked, heavily corroded or so old that no matching washer or cartridge exists anymore; at that point a new tap is usually better value than another repair. And if you rent your home, report the drip to your landlord instead of repairing it, because the plumbing is normally their responsibility and their cost. None of this is defeat. Accepting that some taps are finished, seized or simply not yours to repair is part of learning how to fix a dripping tap honestly. A plumber sorting a stubborn tap is still a small bill compared with repairing a ceiling brought down by a flood you started yourself.
Frequently Asked Questions
Can I fix a dripping tap without turning the water off?
No. Always isolate the supply first, at the tap’s isolation valve or the main stopcock, and open the tap to drain what is left in the pipe. The washer and cartridge sit directly against mains pressure, so removing them with the water on means an uncontrolled flow the moment the part comes out. It is the one step in how to fix a dripping tap that has no shortcut.
Why does my tap still drip after I replaced the washer?
The usual cause is the valve seat, the brass ring the washer closes onto. If the seat is pitted or scored, even a perfect new washer cannot seal against it, and the drip returns within days or weeks. Other possibilities are a washer of slightly the wrong size, or an O-ring that also needed changing. A returned drip does not mean you failed at how to fix a dripping tap; it usually means the seat was the real fault all along. A plumber can regrind a worn seat, or advise replacing the tap if the wear is too far gone.
How long does a leaking tap repair take?
For a straightforward washer swap, most beginners finish well within an hour, and a cartridge change takes about the same once the correct part is in your hand. In practice, the longest part of the job is rarely the spanner work. It is identifying your tap type and matching the old washer or cartridge at the shop, which is why taking the old part with you matters. That preparation is part of how to fix a dripping tap, not a delay before the real job.
How much water does a dripping tap actually waste?
More than the sound of it suggests. A tap dripping steadily around the clock can waste a large amount of water over a year, and on a metered supply you pay for all of it. A dripping hot tap wastes heated water as well, so you pay for the energy too. The exact figure depends on how fast your tap drips, but the direction is always the same: the drip is never as cheap as it sounds, and it is one more reason to learn how to fix a dripping tap sooner rather than later.
Do I need to replace the whole tap, or just the part?
Just the part, in most cases. Replace the washer, cartridge or O-rings when the tap body is sound, the handles work smoothly and there is no corrosion on the body itself. Replacing the whole tap makes more sense when the body is cracked or corroded, the seat is worn beyond reseating, the drip survives a correct part change, or the tap is so old that matching parts no longer exist. Choosing between the part and the whole tap is the main judgment call inside how to fix a dripping tap, and the tap’s overall condition is what decides it.
The Short Version
How to fix a dripping tap comes down to five moves in the right order. Watch the tap and find where the water escapes. Work out whether you own a washer tap, a quarter-turn cartridge tap or a mixer, using the handle test if you are unsure. Turn the water off at the isolation valve or stopcock and drain the pipe, every time, without exception. Swap the failed part, washer, cartridge or O-rings, matching the old one exactly, and check the seat while you are in there. Then turn the water back on slowly and test at the spout, the handle and under the sink before you call it done. Follow those five moves and you have learned how to fix a dripping tap in its complete form. That is the whole method: one worn part, basic tools, and an hour of your afternoon. For more first-time home repairs like this one, browse our Home Improvement section, and you can find everything we publish on the Blog page.

Written by Danish Ali
Danish covers technology, software and business tools for Burry Blog. He tests how platforms actually work and explains them in plain language, without the marketing gloss.